
How to Program a Garage Door Opener Safely and Correctly
Key Takeaways
• You can program most garage door openers in a few minutes using the Learn button.
• The process is different for remotes, keypads, and vehicles with built in HomeLink.
• Safety steps matter because incorrect programming can allow unauthorized access.
• Common brands like LiftMaster, Chamberlain, and Genie follow similar steps.
• Troubleshooting is simple once you understand the logic of the Learn cycle.
Learning how to program a garage door opener is simple once you understand how each part communicates. The steps usually take less than five minutes and require no tools. This guide explains the correct and safe way to program remotes, keypads, and vehicle systems for the most common opener brands. Programming your opener correctly protects your home, prevents lockouts, and ensures the system works smoothly. Many homeowners only learn this during a move or after losing a remote, which makes it even more important to get the steps right.
What Is a Garage Door Opener and How Does the Programming Work?
A garage door opener is a motor unit that uses radio signals to open and close the door. Each remote, keypad, or vehicle transmitter sends a code that must match the opener’s receiver. Programming creates a secure link between those devices. Most openers use a Learn button that activates a short window where the unit accepts a new code. During that window, the device sending the signal must be pressed so the motor can store it. Once paired, the remote or keypad will operate the door consistently.
Where Is the Learn Button Located on a Garage Door Opener?
The Learn button is usually on the back or side of the opener’s motor unit near the antenna wire. It may sit behind a light cover or beneath a small panel. The button color often indicates compatibility.
Common Learn button colors:
- Yellow
- Purple
- Red
- Orange
- Green
If you cannot find the button, check the brand label and consult the manual online. Most brand manuals are available on manufacturer sites and installation PDFs.
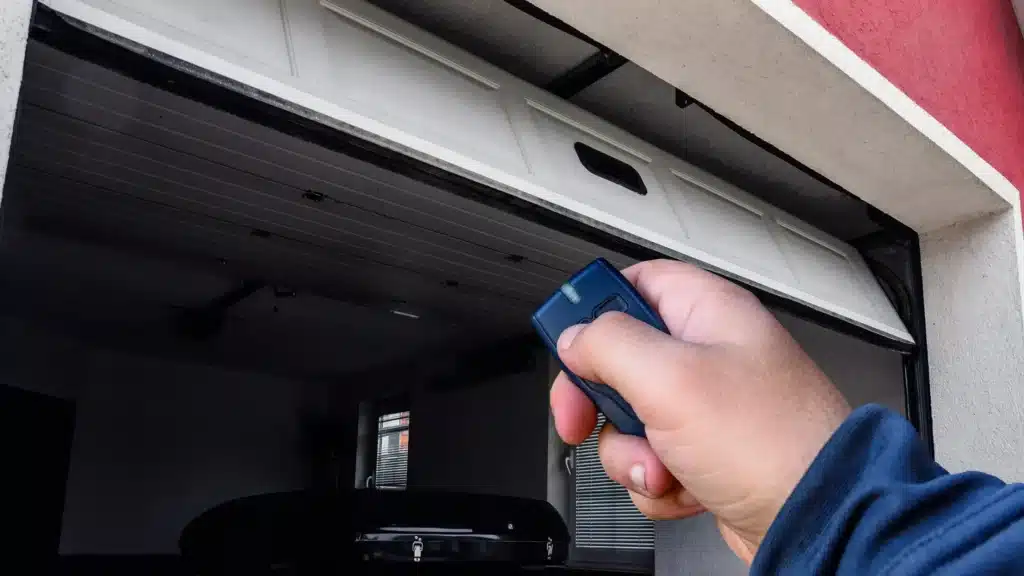
How to Program a Garage Door Remote
Press the Learn button on the opener, then press the remote button you want to use.
Step by Step Instructions
Climb a stable ladder to reach the opener.
Locate the Learn button.
Press and release the Learn button once. The indicator light will turn on or blink.
Within 30 seconds, press and hold the remote button until the opener light flashes or clicks.
Test the remote from the ground.
If the remote controls multiple doors, repeat the cycle and assign different buttons for each door.
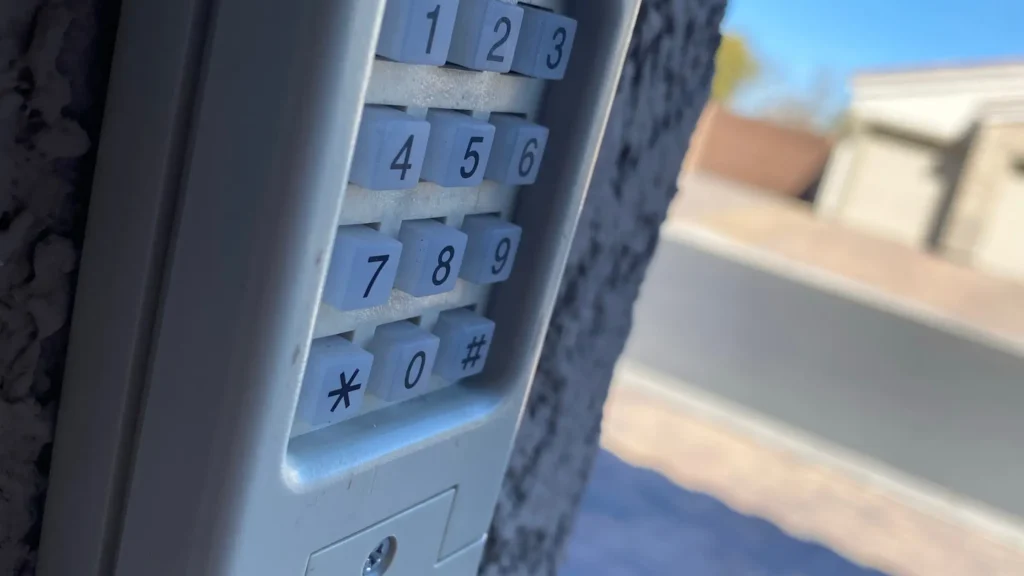
How to Program a Garage Door Keypad
Enter the manufacturer’s default programming code, then set your personal PIN.
Step by Step Instructions
Press the Learn button on the opener.
Go to the keypad.
Enter your chosen 4 digit PIN.
Press the Enter button until the opener light blinks.
Test the keypad by entering the PIN and pressing Enter.
For multi door setups, some keypads use number keys to assign each door. Check brand instructions if your keypad has extra buttons.
How to Program a Car with HomeLink
Hold the HomeLink button while training it with your existing remote, then sync HomeLink with the opener’s Learn button.
Step by Step Instructions
Turn on the vehicle ignition.
Hold down the HomeLink button you want to program until the indicator light begins to blink.
Hold your garage door remote one to two inches from the HomeLink panel, then press the remote button. The HomeLink light will change from slow to rapid blink.
Press the Learn button on the opener.
Within 30 seconds, return to the vehicle and press the HomeLink button two or three times until the door operates.
Some vehicles require two person coordination to finish the sync.
How to Reset or Erase All Remote Codes
Hold the Learn button for 6 to 10 seconds until the indicator light turns off.
This erases all existing remote and keypad connections. You will need to reprogram the devices you want to keep.
What If the Remote Still Does Not Work?
1. Check the Battery
Most remotes use small coin style batteries. Weak batteries reduce range or cause inconsistent signals.
2. Confirm the Antenna Wire is Intact
The antenna on the opener should hang down freely. A damaged or missing antenna prevents proper signal reception.
3. Check Distance
Remotes usually work within 20 to 50 feet. If you are too far from the garage, the opener may not receive the signal.
4. Look for Interference
LED bulbs, WiFi routers, and cameras placed near the opener can interfere with signals.
5. Reprogram After a Power Surge
A power outage or surge can cause the opener to forget paired devices. Reprogram the remote and keypad again.
Which Brands Are Easiest to Program?
Most modern openers from LiftMaster, Chamberlain, Genie, and Craftsman follow similar steps. The Learn button method is now standard.
Brand Notes
- LiftMaster: Uses yellow, purple, red, orange, or green Learn buttons.
- Chamberlain: Same process as LiftMaster since they share technology.
- Genie: Uses a Program or Set switch on some models.
- Craftsman: Older units use a Smart button, newer units follow LiftMaster’s system.
Top 5 Safety Tips When Programming a Garage Door Opener
Clear the garage area before testing.
Do not stand directly under the door.
Keep PINs private and change them if shared.
Avoid leaving remotes in vehicles parked outside.
Test the safety sensors after programming.
How Long Should Programming Take?
Most setups take three to five minutes. HomeLink programming can take longer if your vehicle uses a two step sync. Keypads are usually the fastest because they require no tools.
Remote vs Keypad vs HomeLink
| Method | Best For | Pros | Cons |
|---|---|---|---|
| Remote | Daily use | Small and simple to operate, quick setup | Easy to lose and battery may die |
| Keypad | Families and guests | No remote needed, PIN controlled | Needs weather protection |
| HomeLink | Vehicle owners | Built into the car, no need for a handheld remote | Setup can take more time |
Simple Checklist for Programming Any Opener
- Locate the Learn button.
Press and release the Learn button. - Press the remote button or enter the keypad PIN.
- Watch for the motor light to flash.
- Test the device.
- Repeat for more remotes or keypads.
Conclusion
Programming a garage door opener is simple once you understand how the Learn button communicates with remotes, keypads, and vehicle systems. The process only takes a few minutes and provides safe control of your garage. If you need help, notice unusual door movement, or want new opener parts installed, a technician can ensure everything functions correctly.
Need an Expert in Montreal?
Looking for reliable garage door services in Montreal and nearby areas? Unique Garage Doors provides fast and professional support for repairs, replacements, opener installation, emergency service, and more. Our trained technicians handle all major brands and offer same day service across Montreal, Laval, Longueuil, and surrounding communities.
Frequently Asked Questions
How many remotes can I program?
Most openers allow four to six remotes. Some advanced units allow more.
Can two different brands work together?
Only if they share signal compatibility. LiftMaster and Chamberlain often work together while Genie remains separate.
Can someone else copy my remote code?
Modern openers use rolling code technology that changes the signal every press. This stops signal copying.
Why does the door open but not close?
Check the safety sensors. If they are blocked or misaligned, the opener will not close the door.
Do I need a professional to program my opener?
Most homeowners can do it on their own. A technician helps if the opener has wiring issues or faulty sensors.